Before you begin, you will want to have your business information ready. Listing your business won't take long, approximately 15 minutes but it will be quicker if you are prepared. Make sure to have your website URL (optional), email, phone number and a copy of your logo (in a png, jpeg, gif or webp format).
The first step to listing your business is creating your user registration. Fill out the form on the user registration page and make sure to keep your password on a safe place.
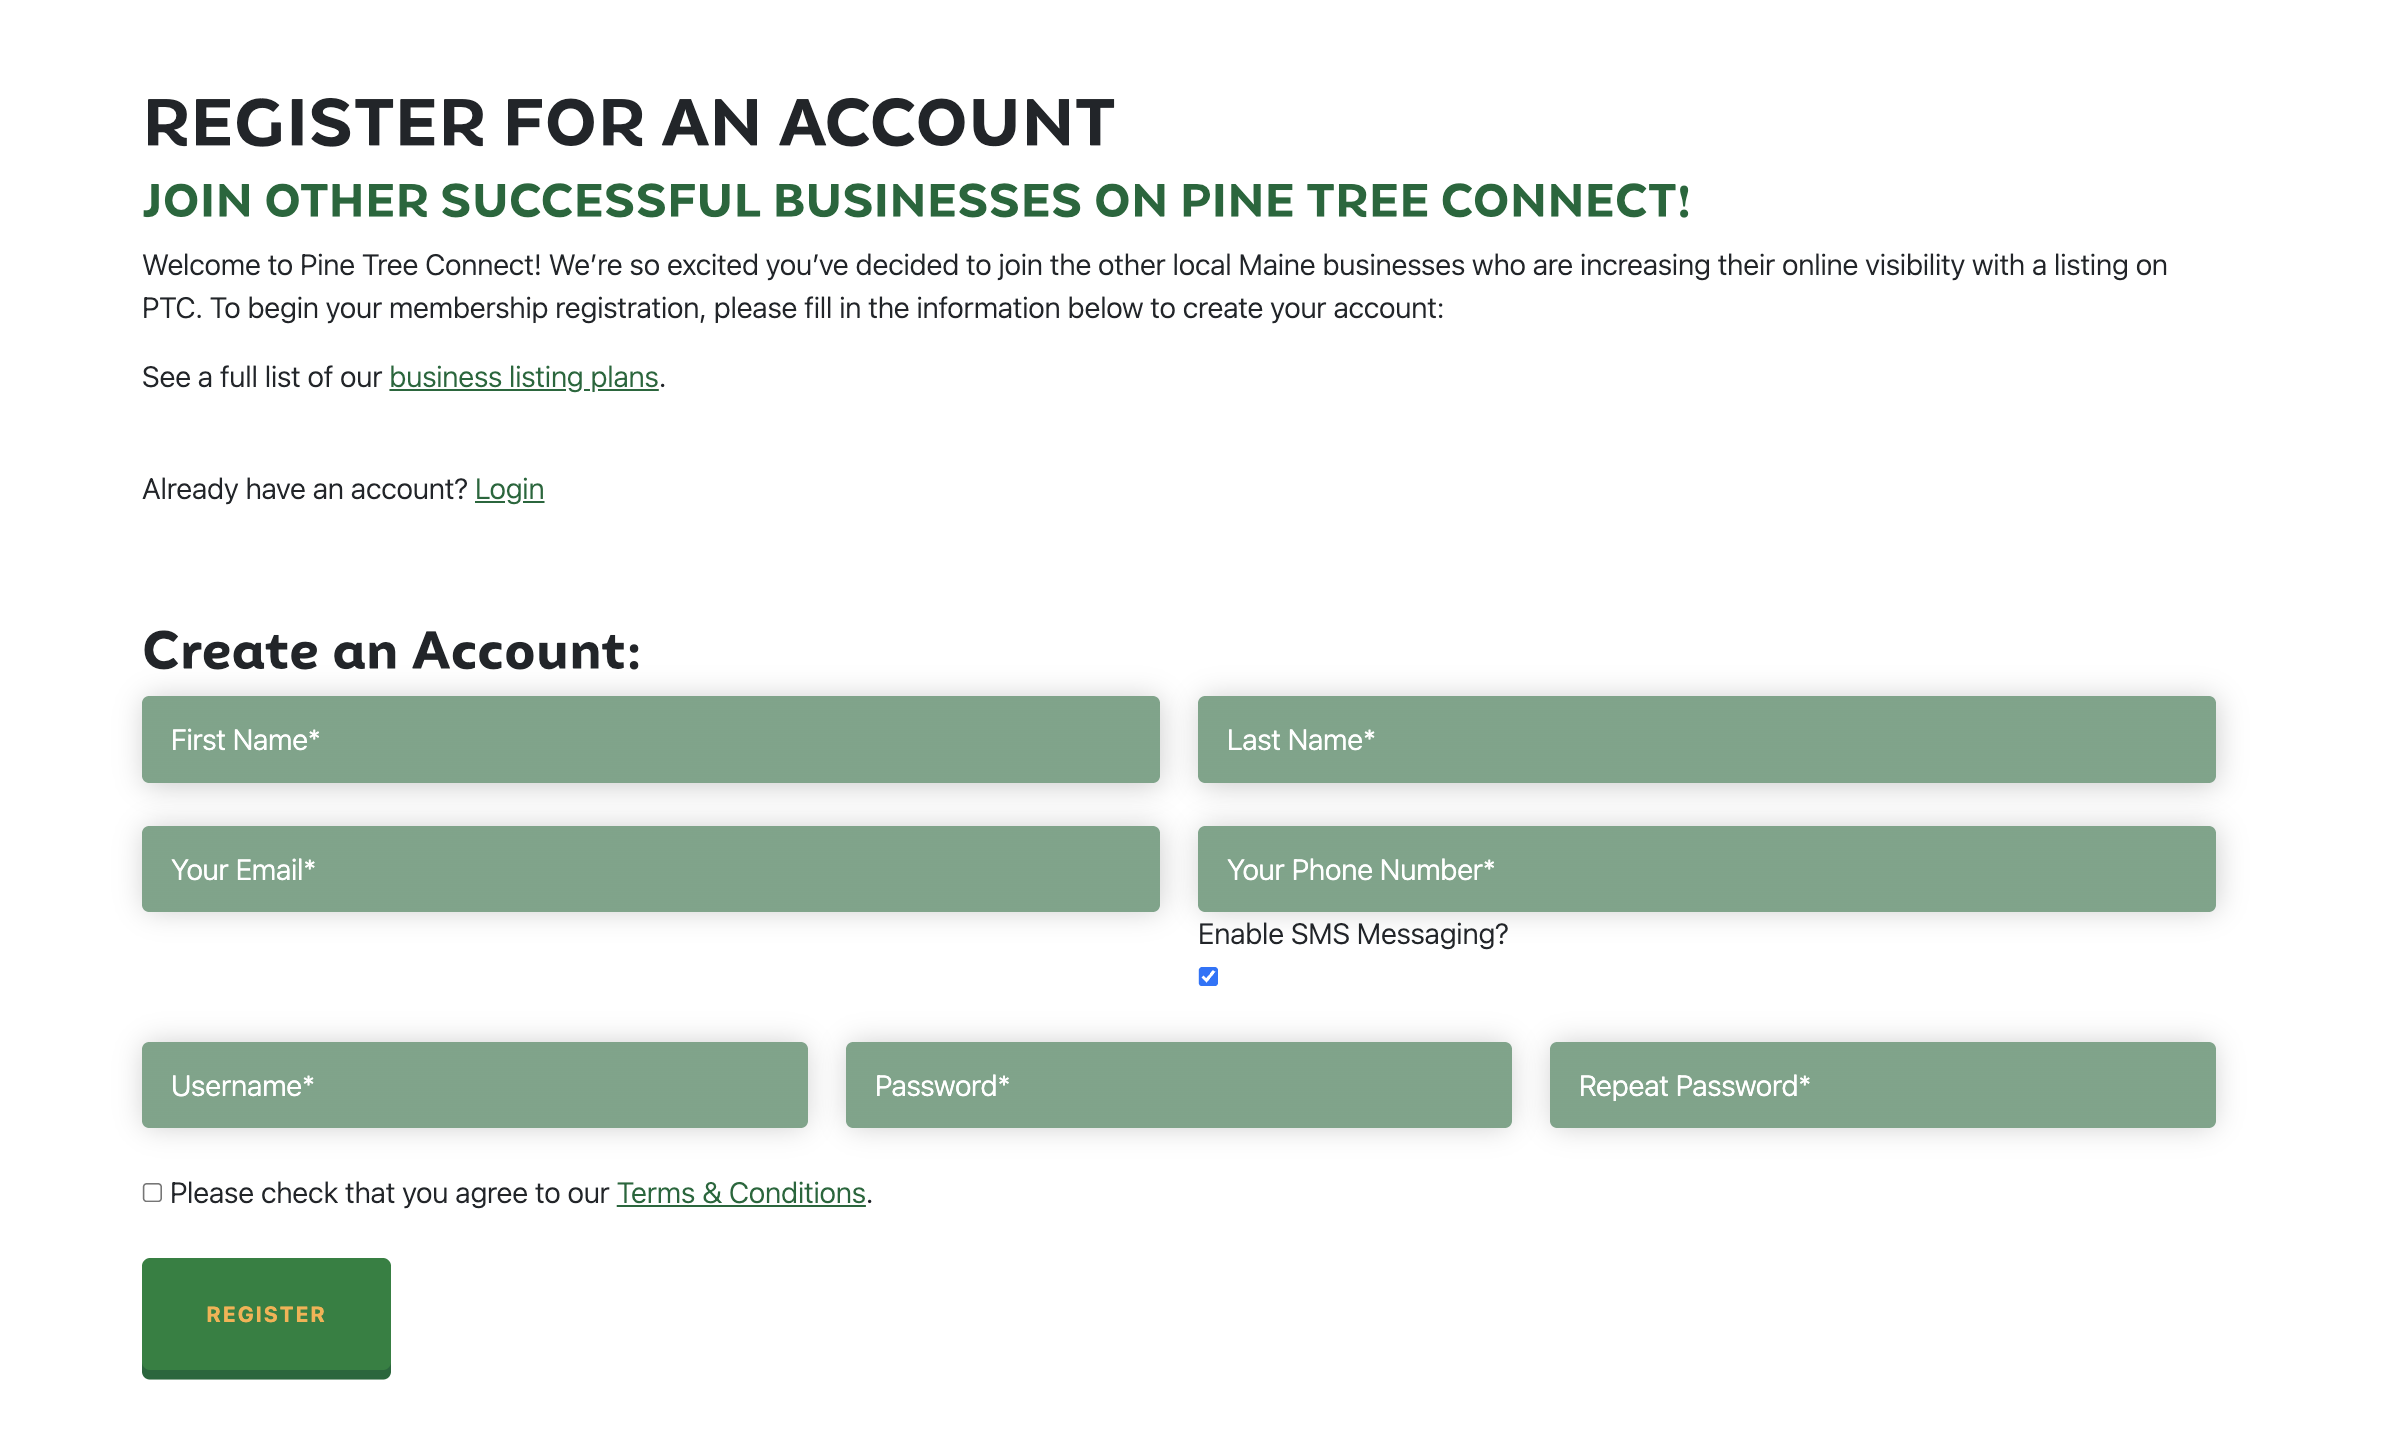
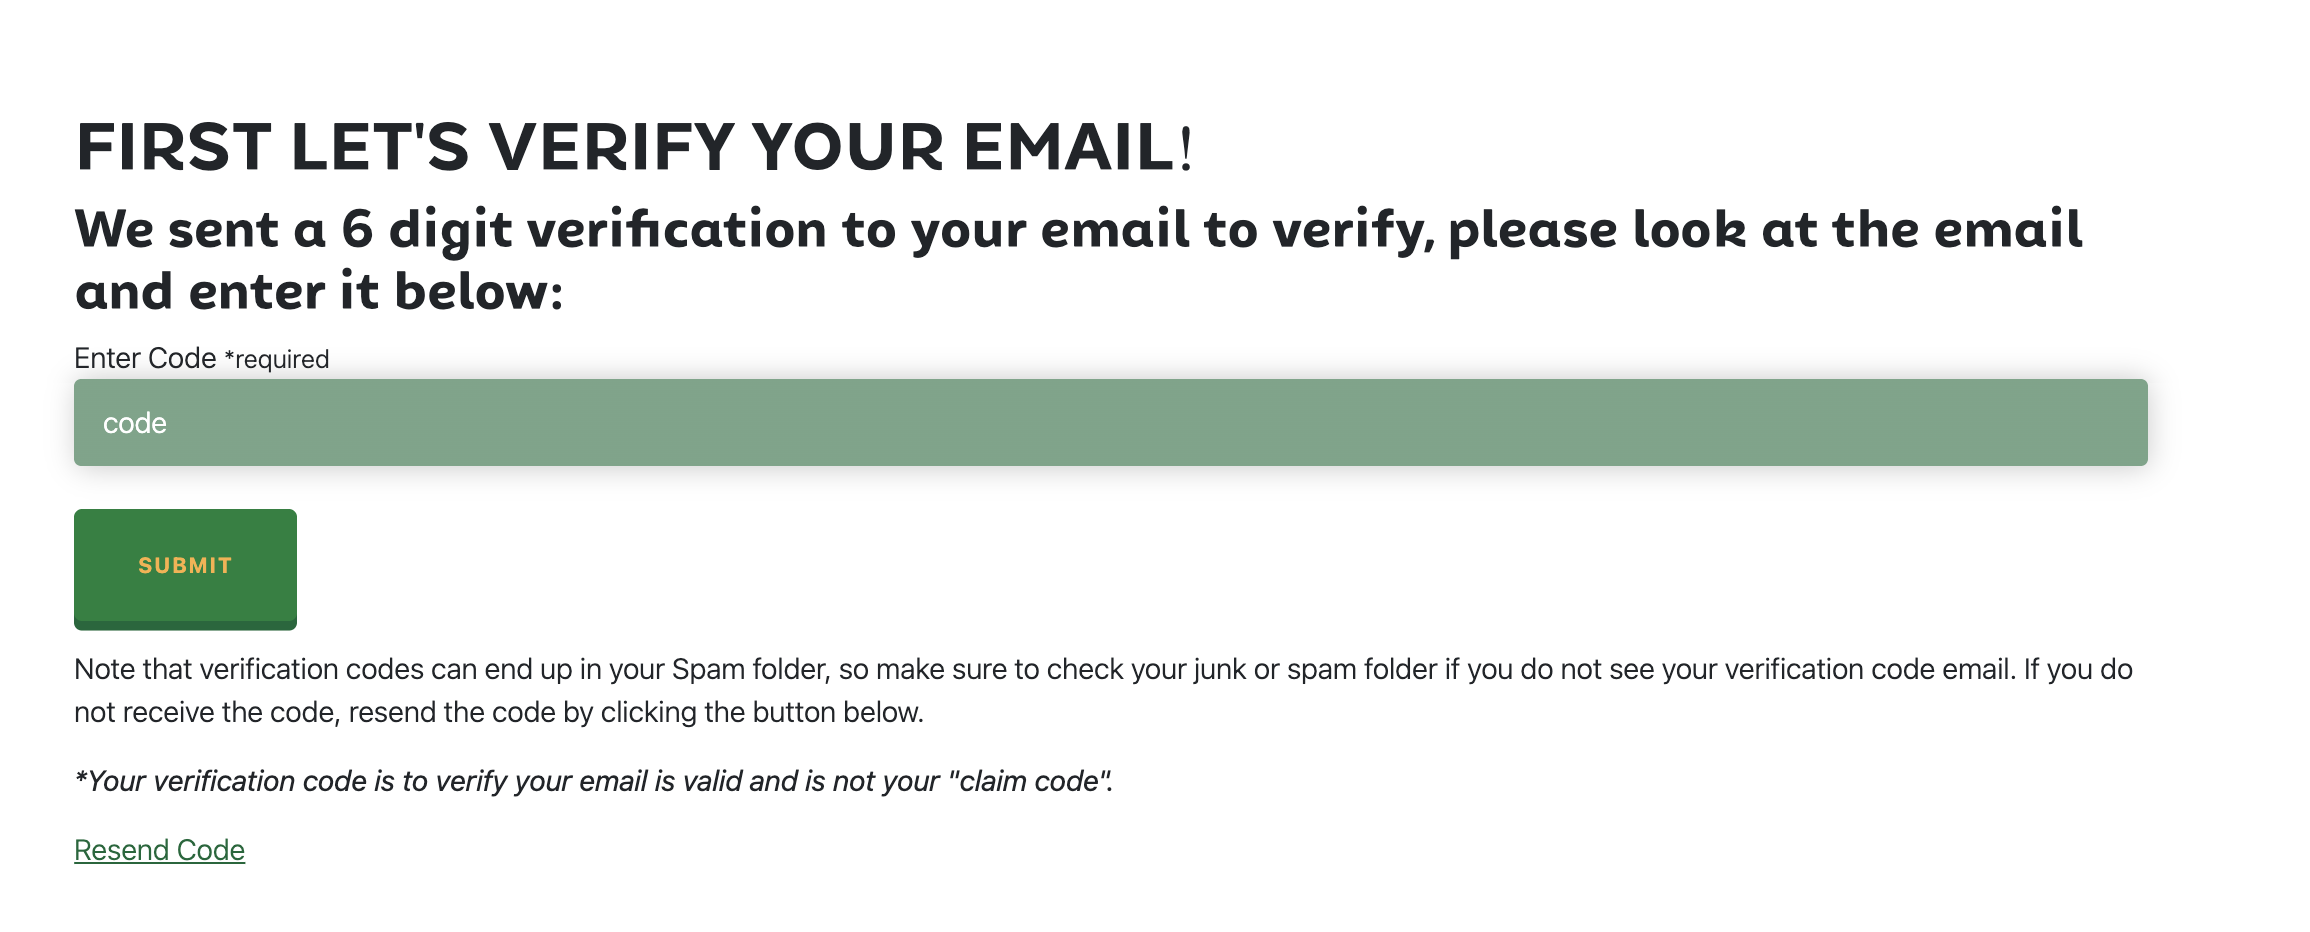
In order to make sure your email is a valid email address, we will send you an email with a 6 digit verification. Enter this into the form field to verify your email address.
**Note: DO NOT ENTER YOUR CLAIM CODE HERE! That step is further along in the process.
This is what the email looks like:
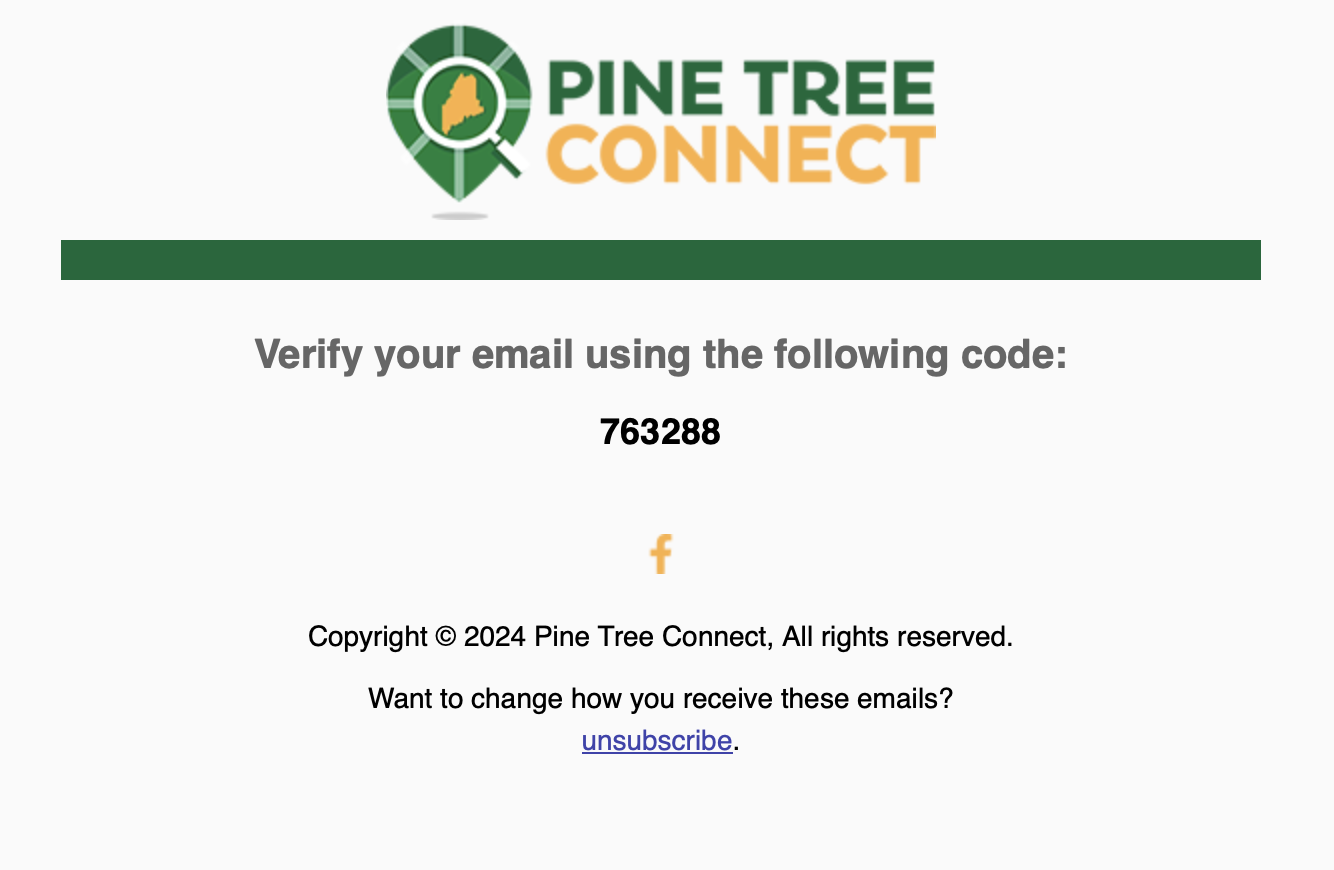
If you do not recieve this email, look in your spam or junk folder. If you don't get it, please reach out to [email protected] and we will help you verify your email.
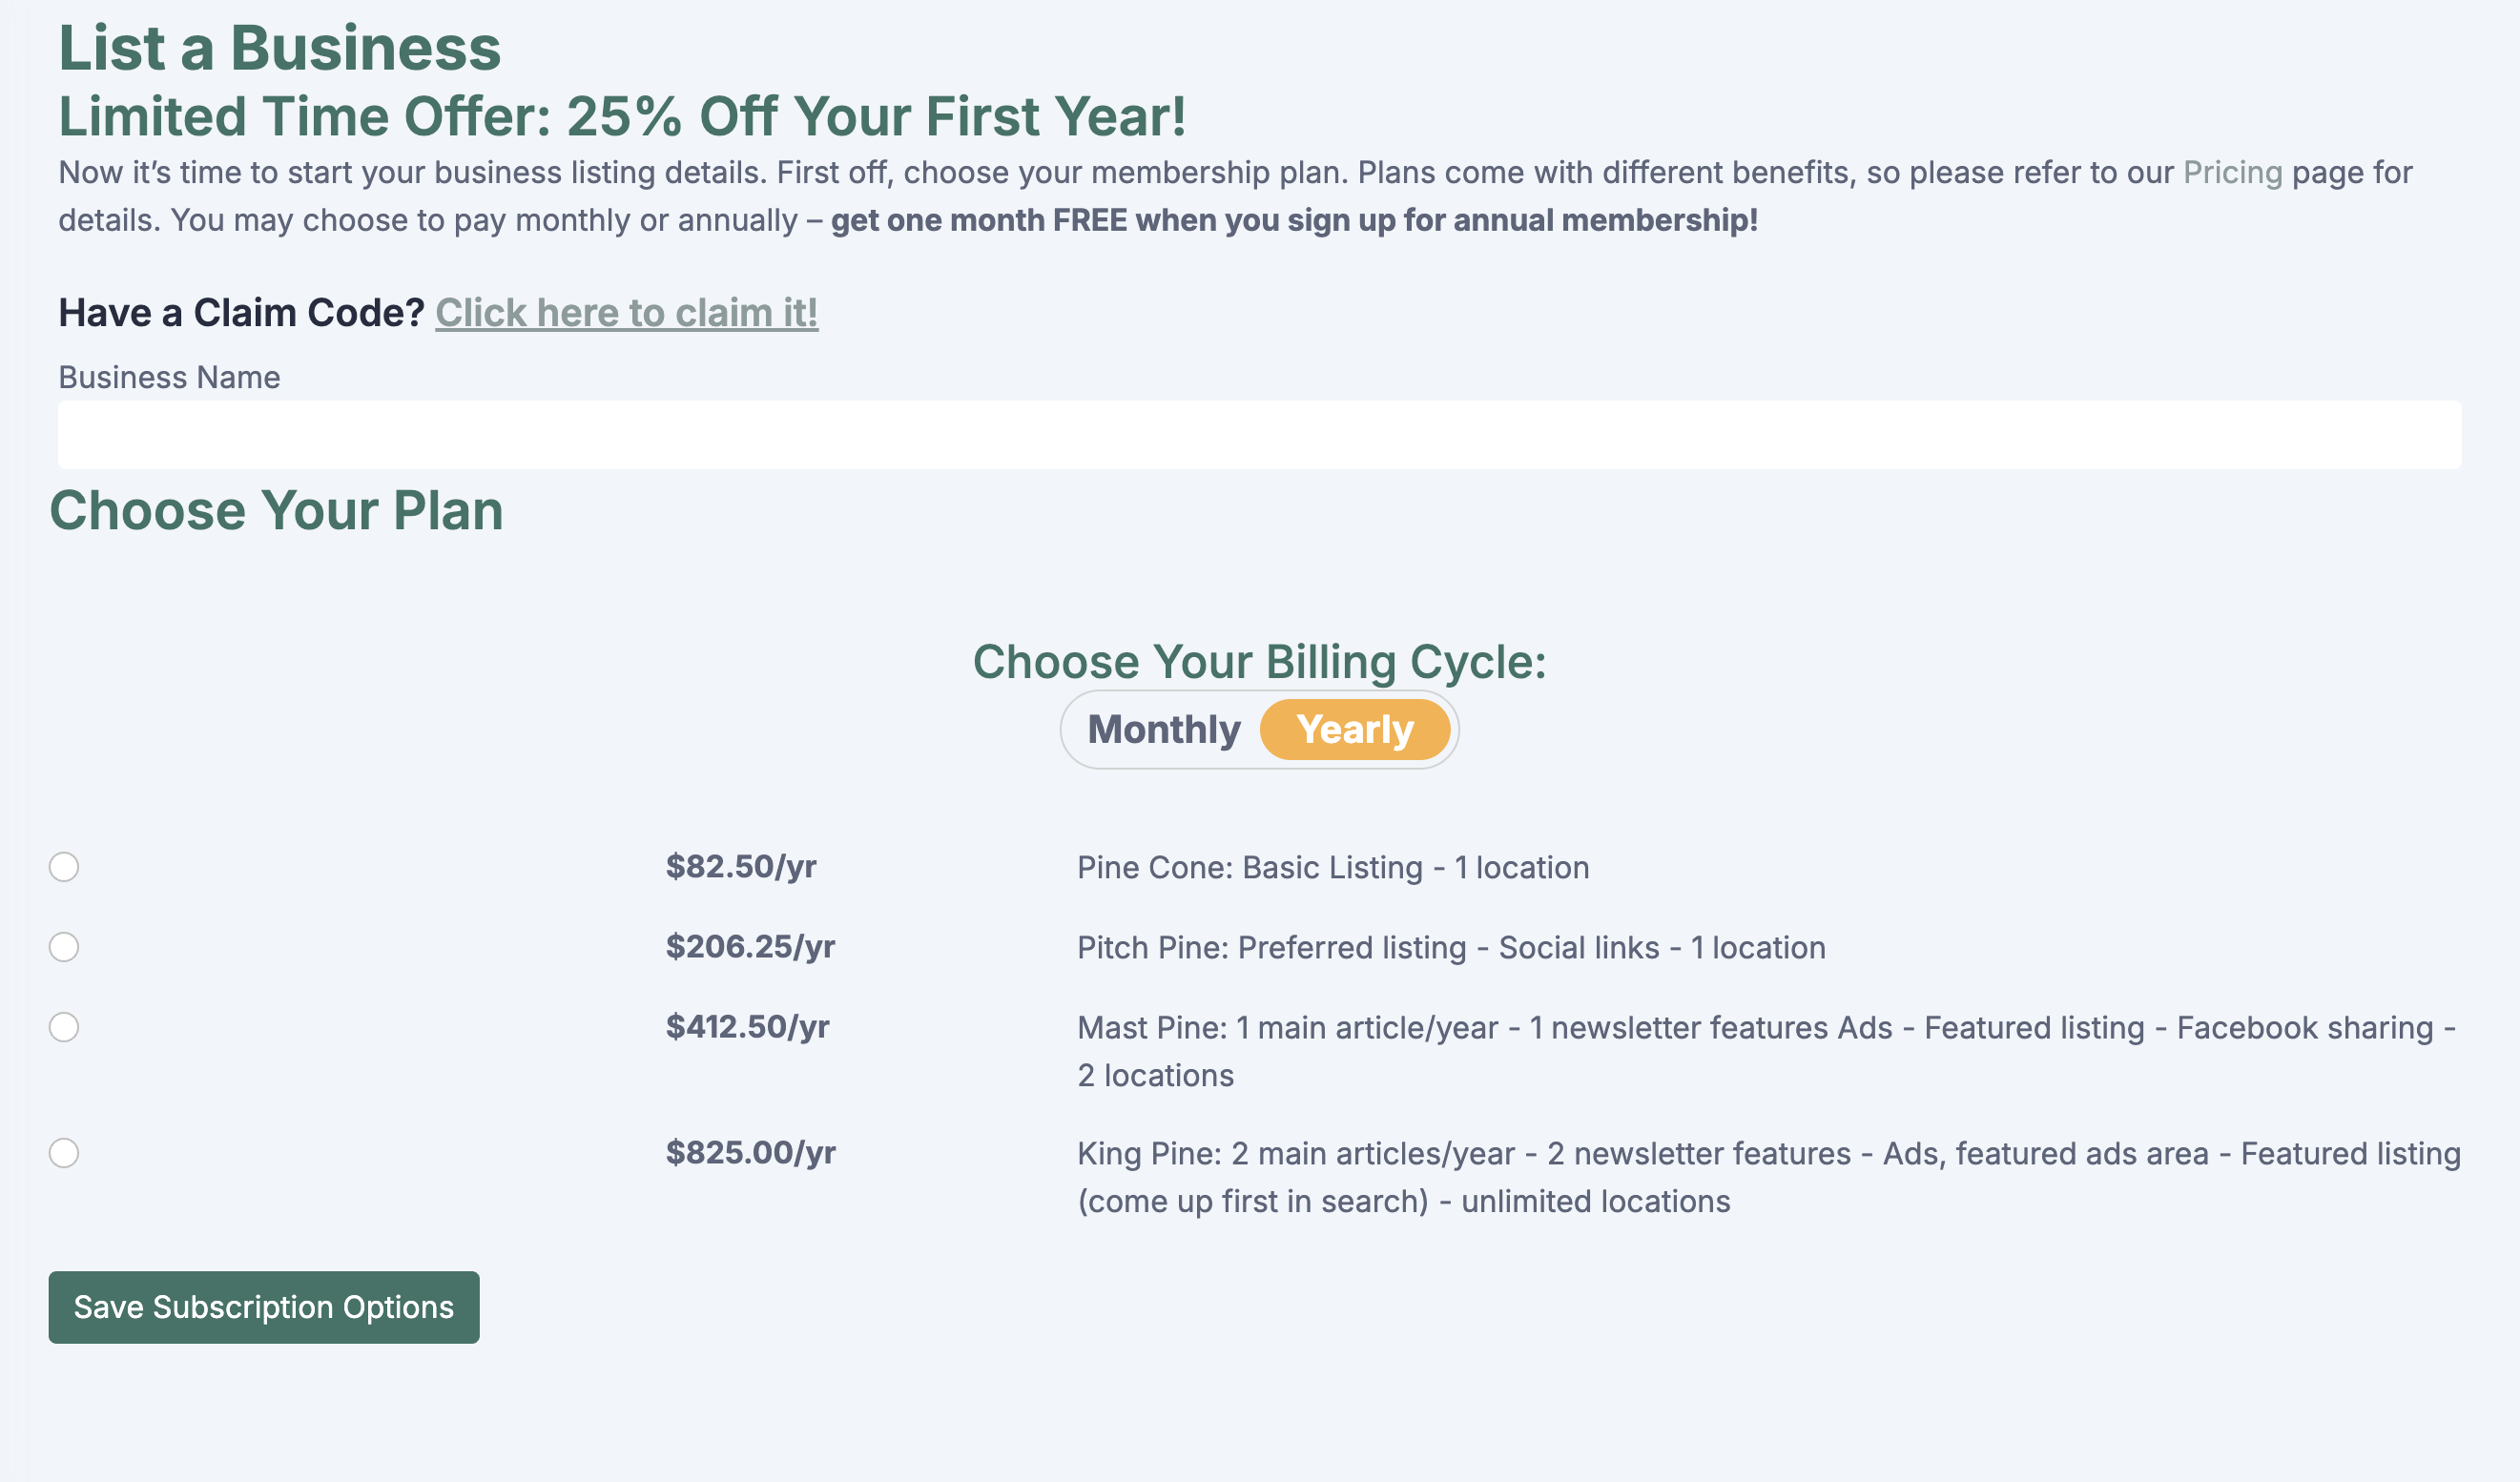
The next step is to choose what subscription level you would like for your business. You can view each subscription plan and what it comes with on our pricing page.
Enter your business name, choose what plan you'd like and your billing schedule (yearly or monthly) and click "Save Subscription Options".
Next enter your business information including your tagline, website, business description and logo. Then click "Update My Business".
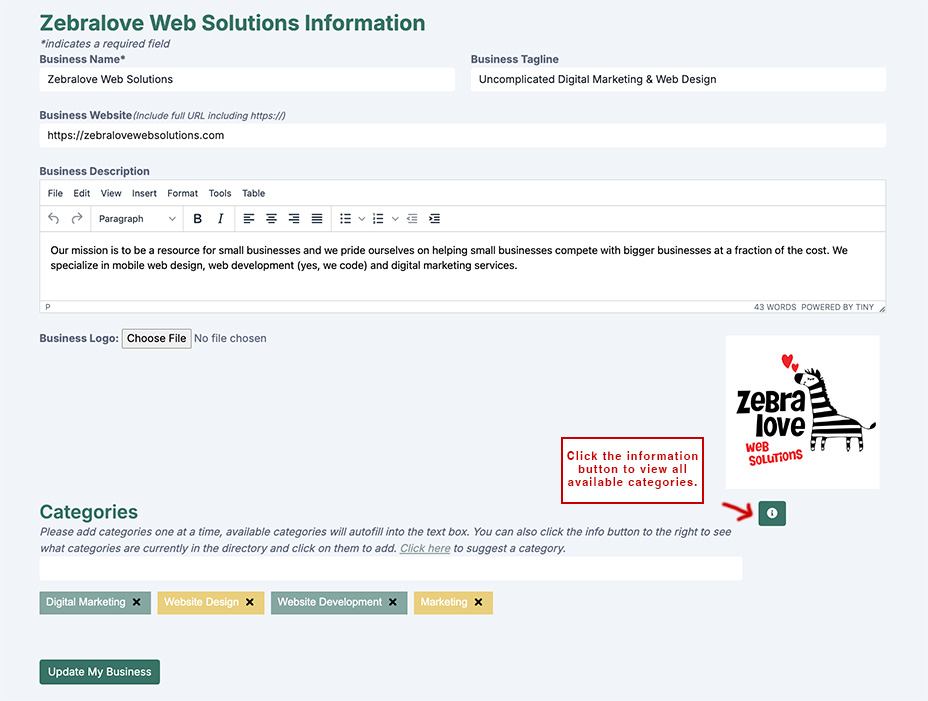
Make sure you enter all the categories that make sense for your business. You can view all of the categories by clicking the information box on the side of the category text field.
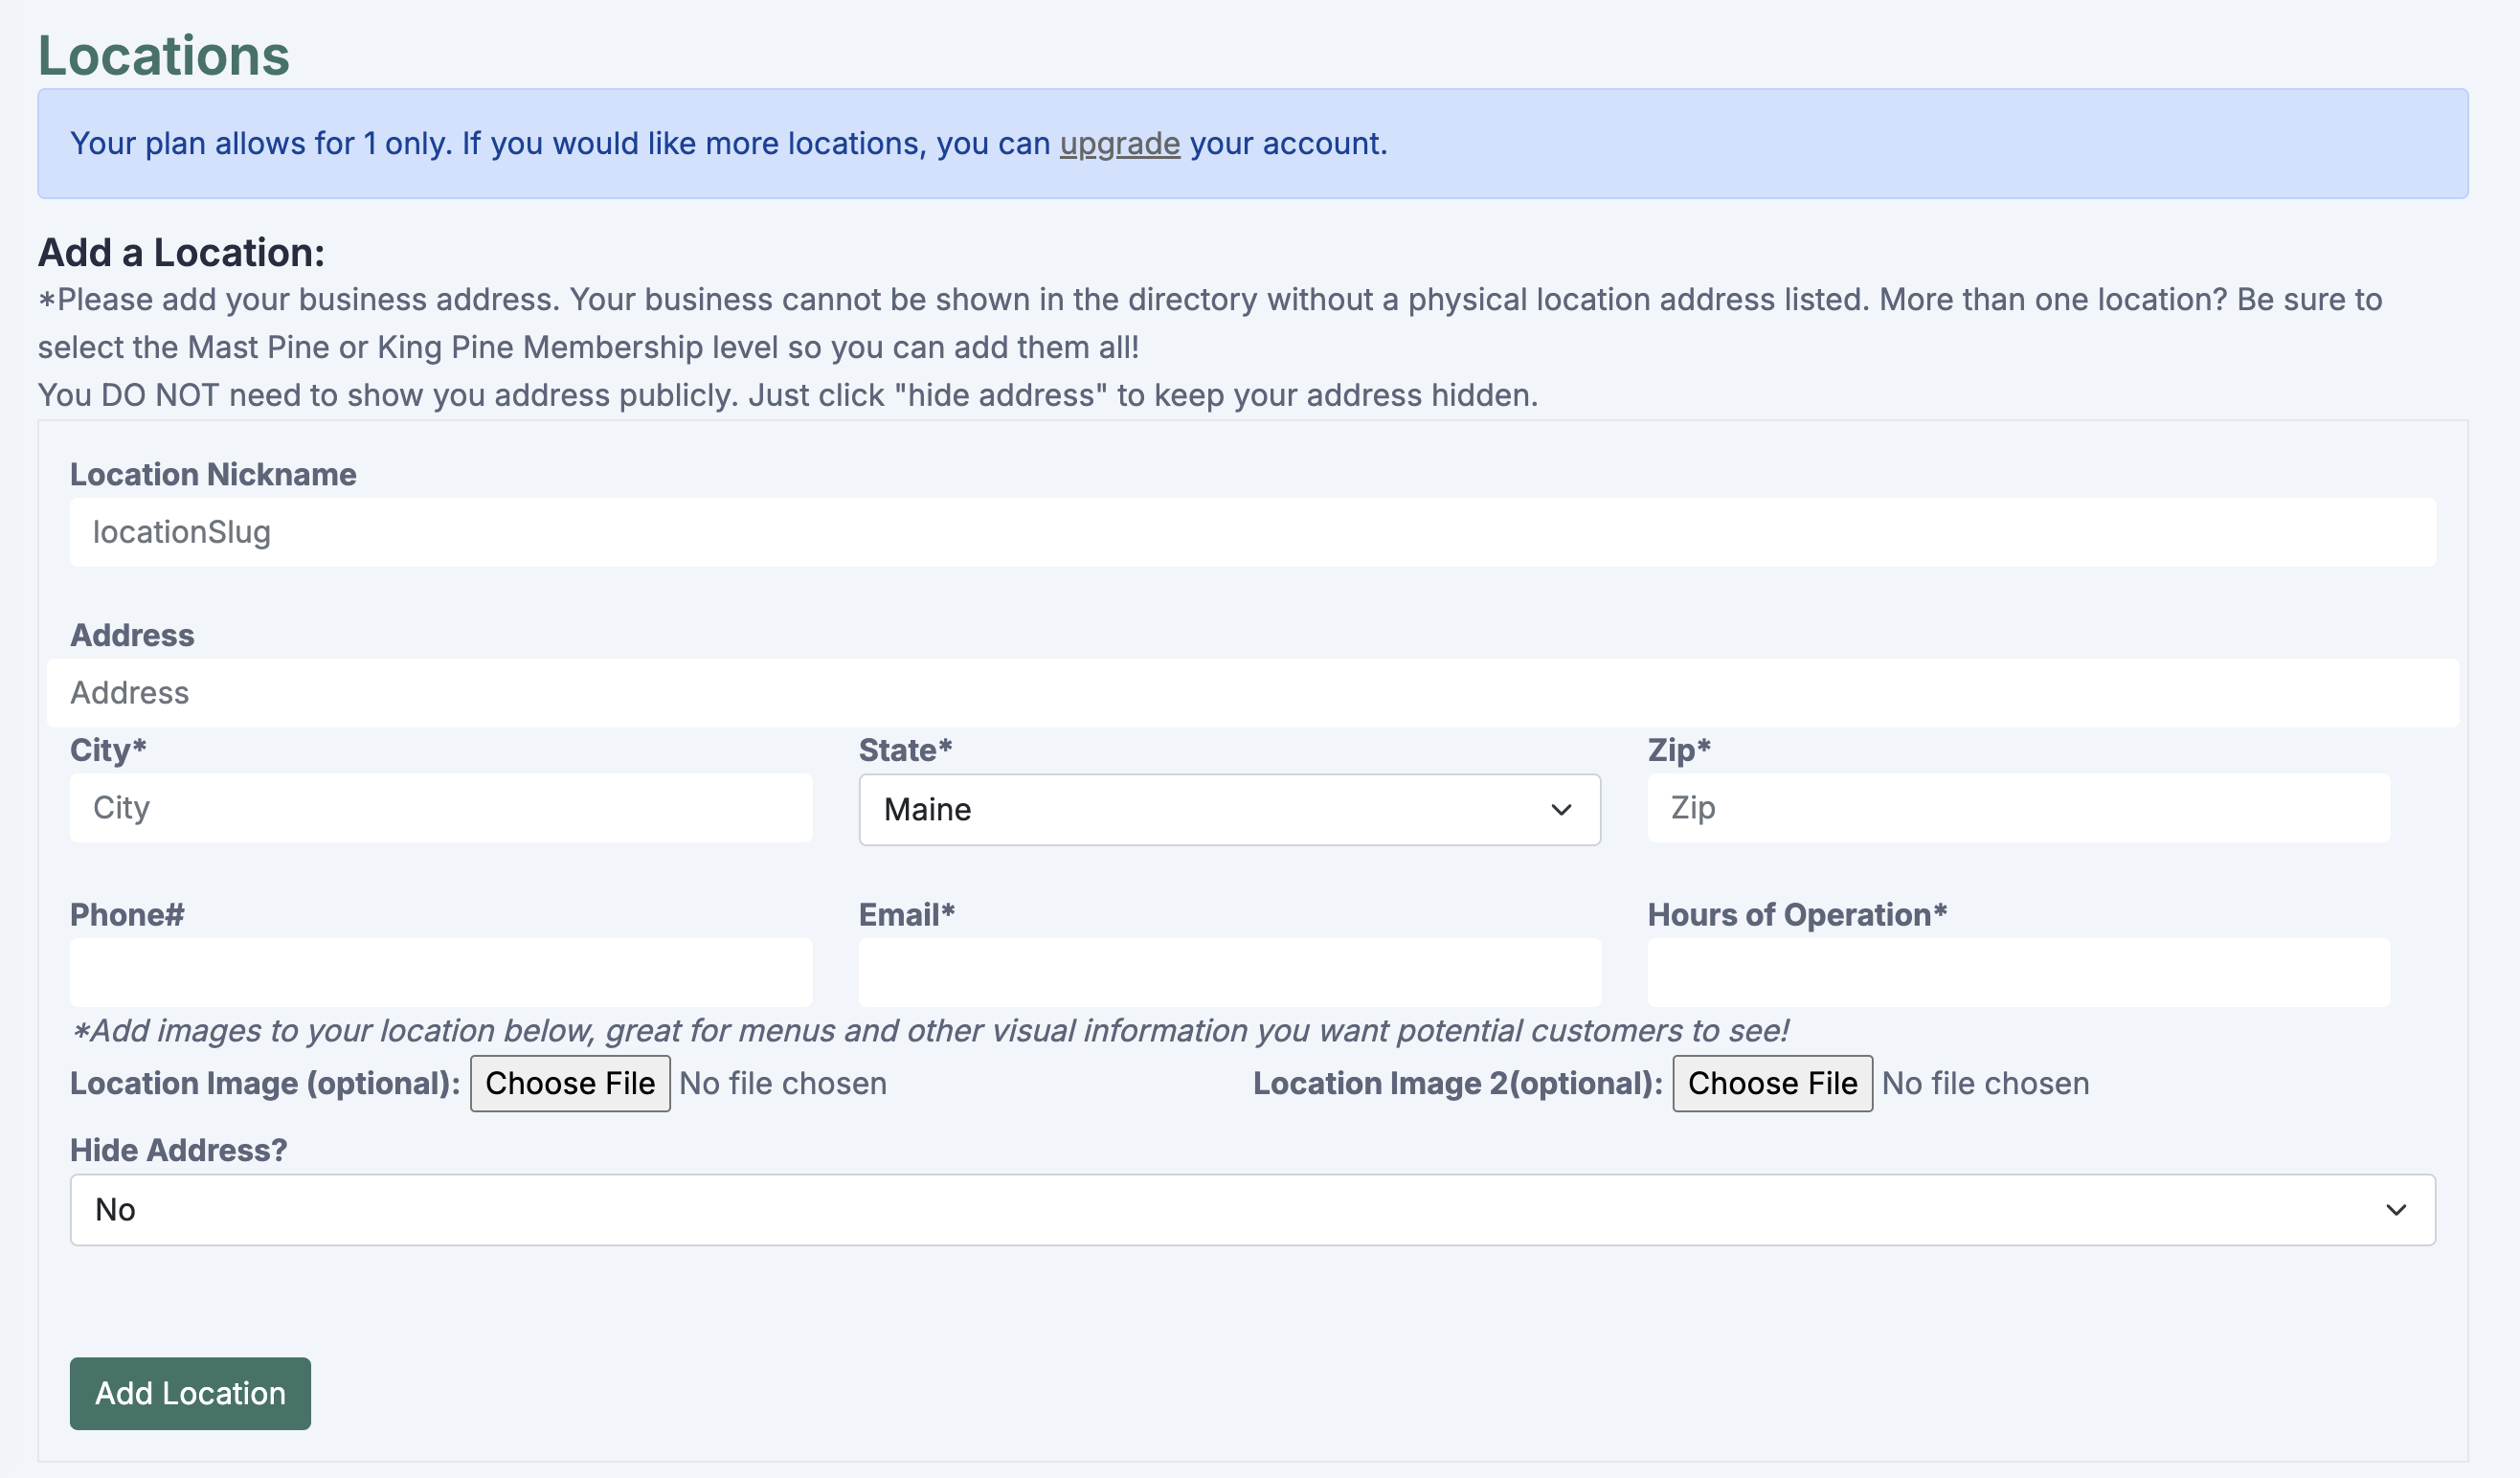
After you have entered your main business information the next step is to enter a location. You need at least one location to be listed in the directory, but don't worry, you have the option to hide your address publicly if you wish. Just scroll down on the Business Information page to enter a location. You only get one location as a Pine Cone Business Member so if you have multiple locations, you may want to consider upgrading to a higher level account.
Note that the Location Nickname is just a word that will help you identify the location (in case you have multiple).
You can add two images to each location. If you are a restaurant, you can add images of your menu. You could also use these to personalize your listing with an image of your employees, etc.
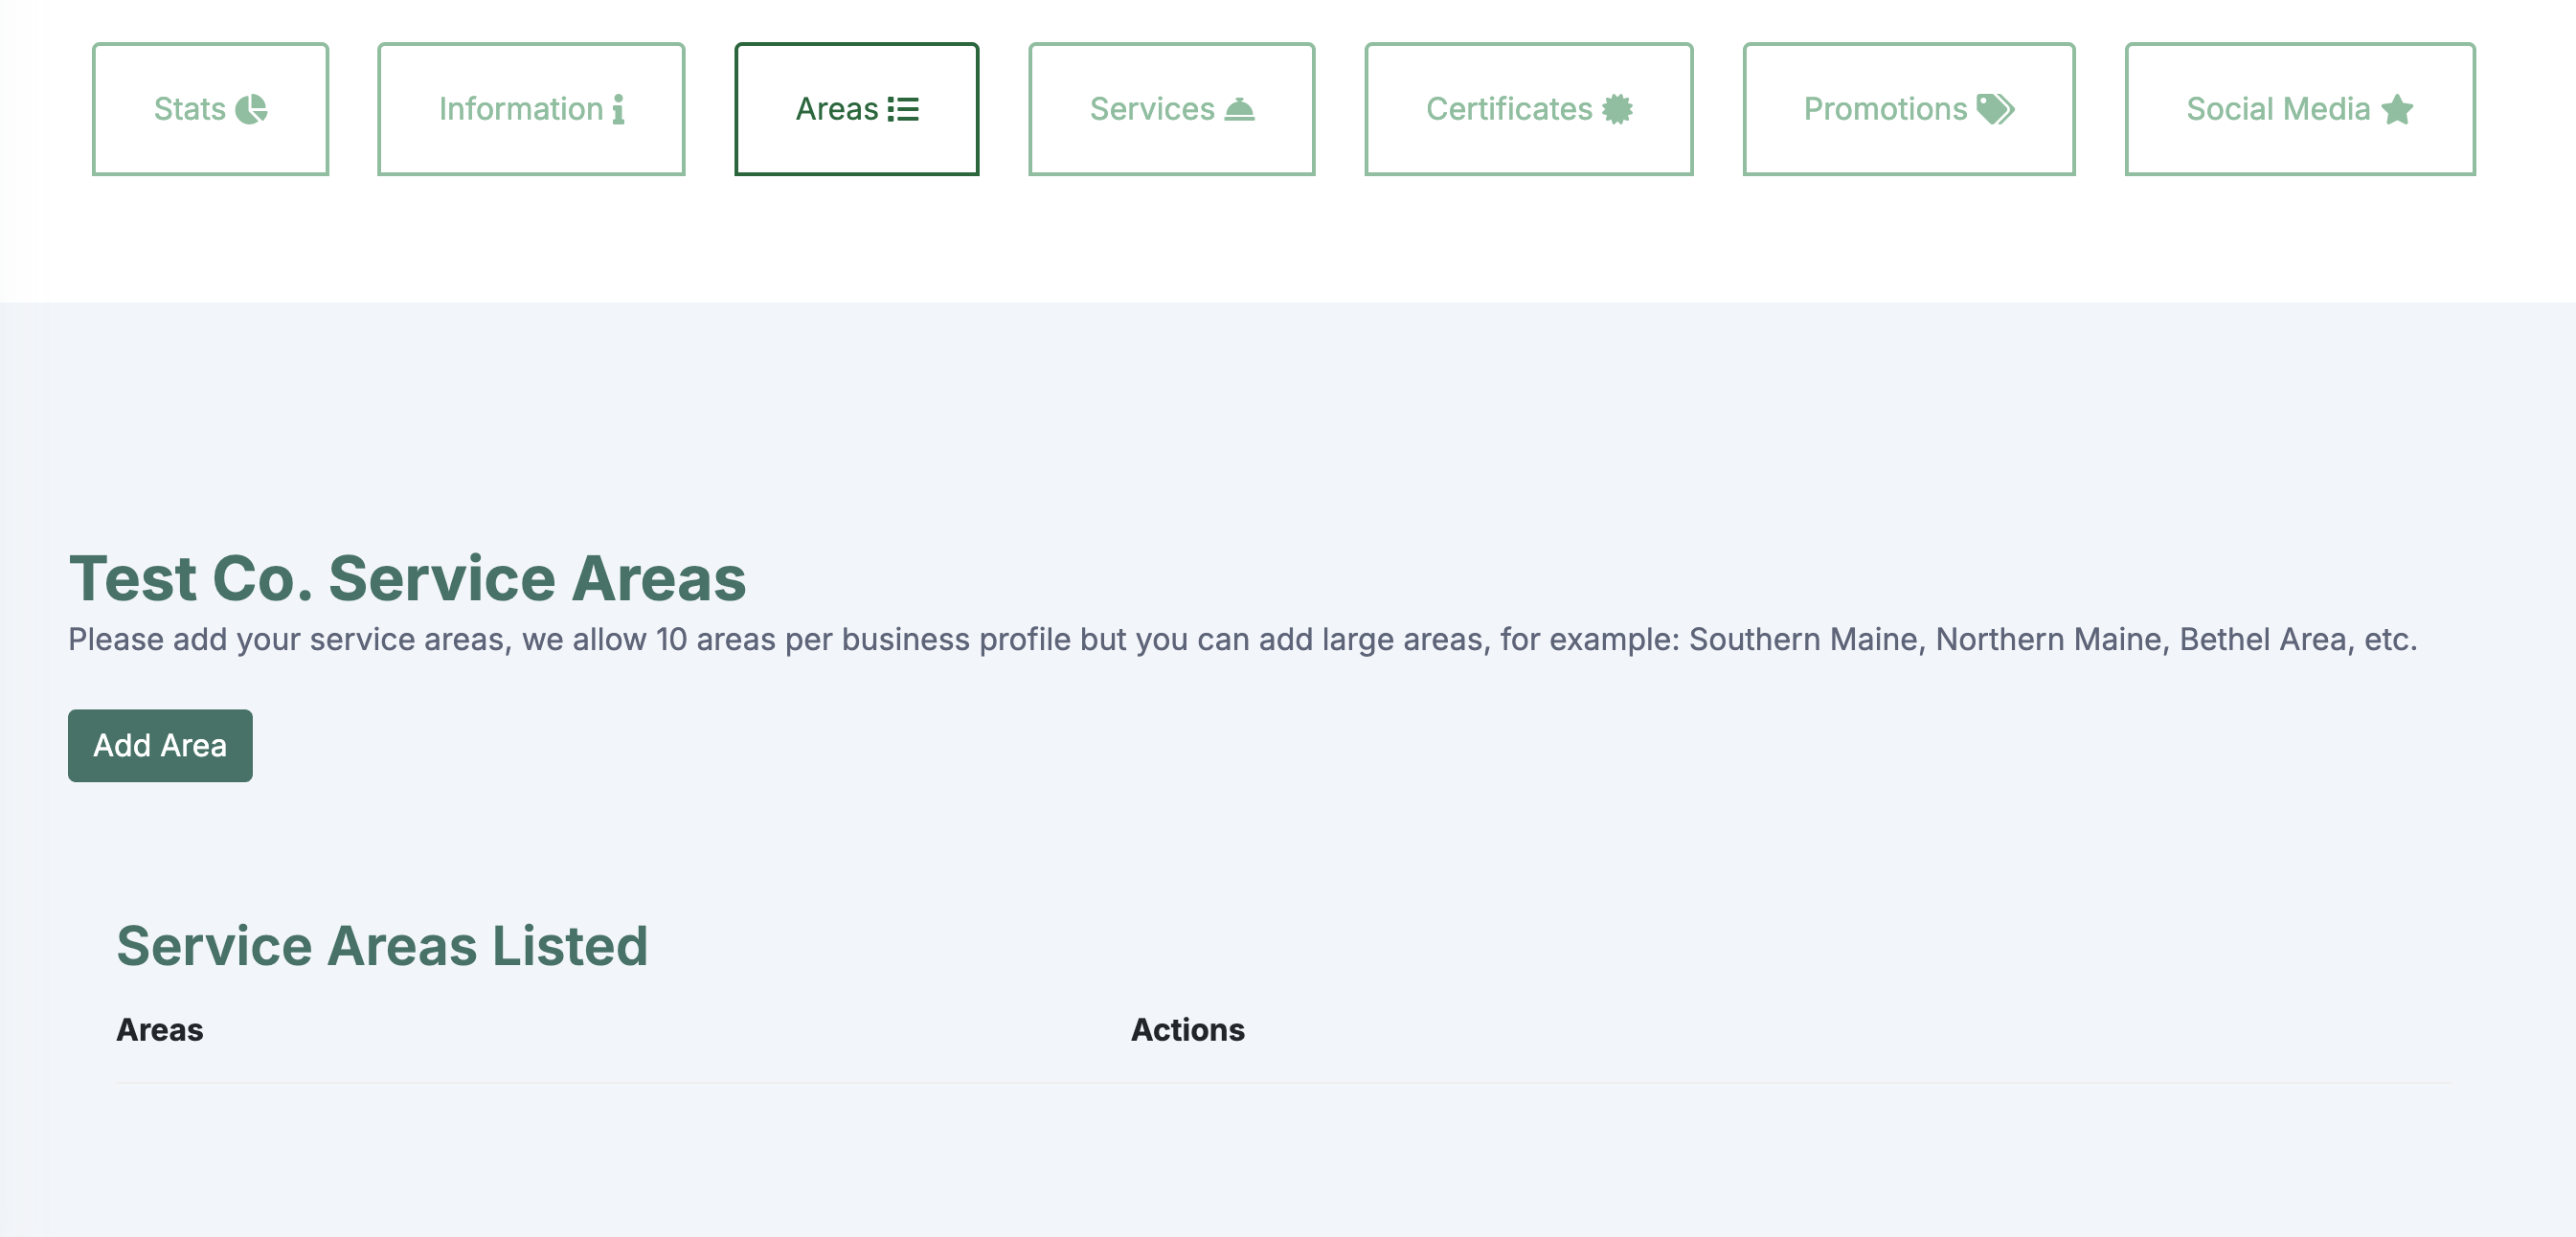
Next, click the "Areas" tab to enter in the areas of Maine you service. You can put in individual towns or something like "Southern Maine", "Northern Maine", "Downeast Maine", just something to give people an idea of what region of Maine you serve. Click "Add Area", type in your area into the text box and click "Save".
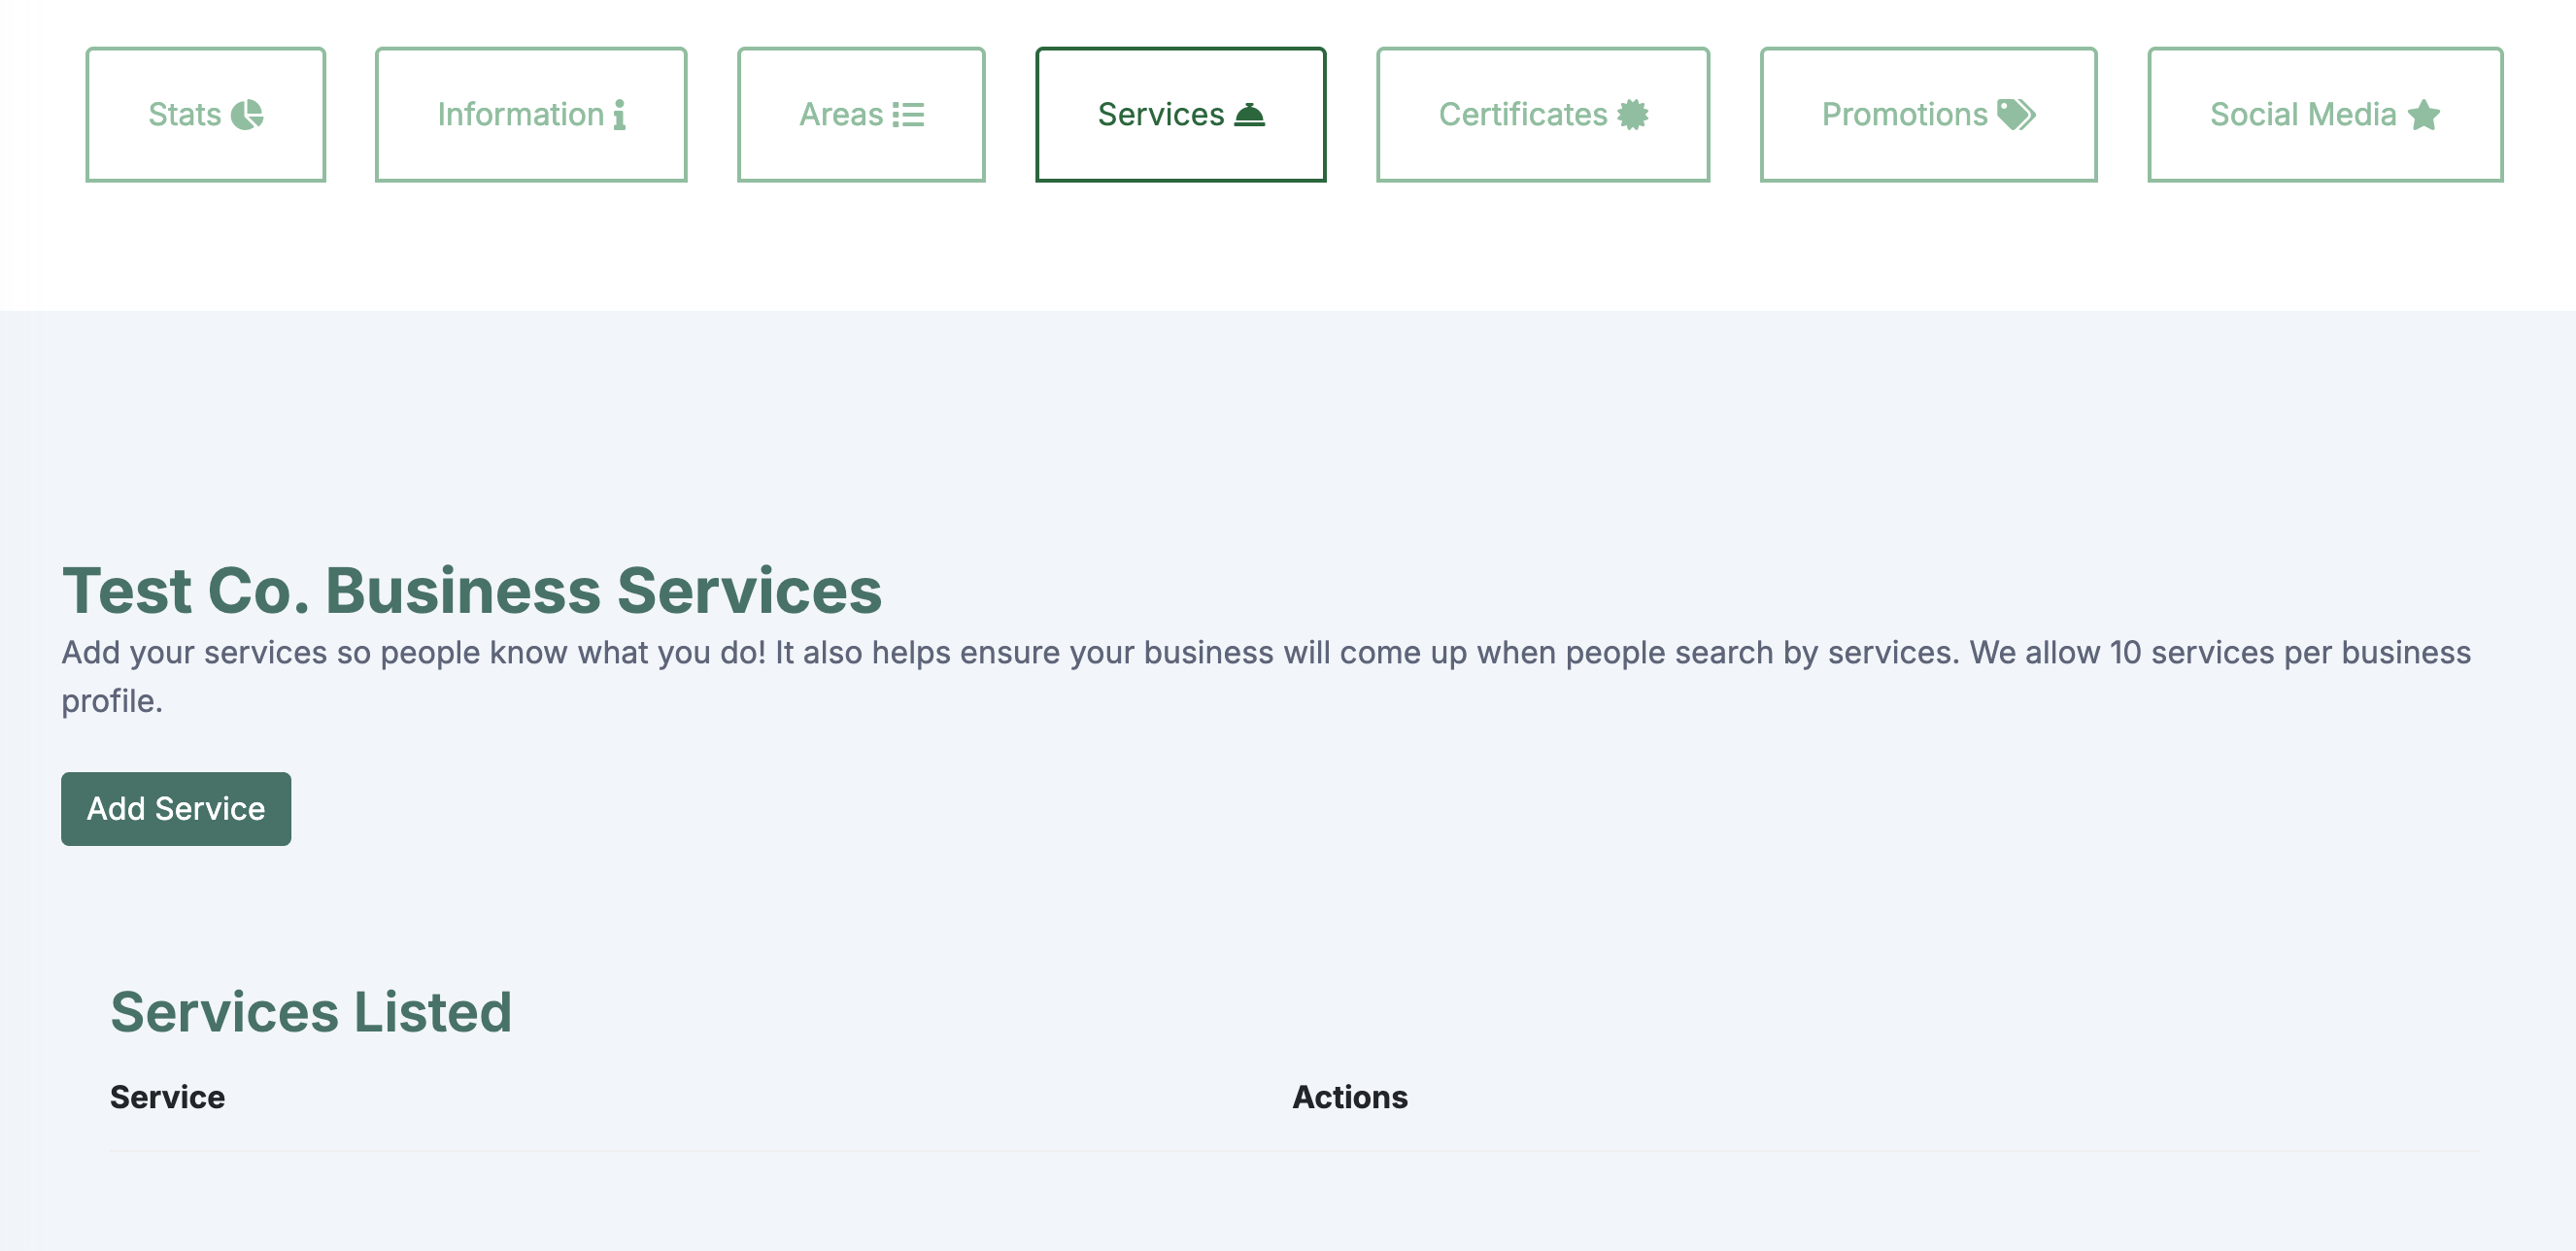
Click the "Services" tab to let people know what your businbess does by entering your business services. Click "Add Services", type in your service into the text box and click "Save".
If your business has licenses or certifications you wish to include, click the "Certificates" tab to add them. Click "Add Licenses./Certificates", type in your infomation into the text box and click "Save".
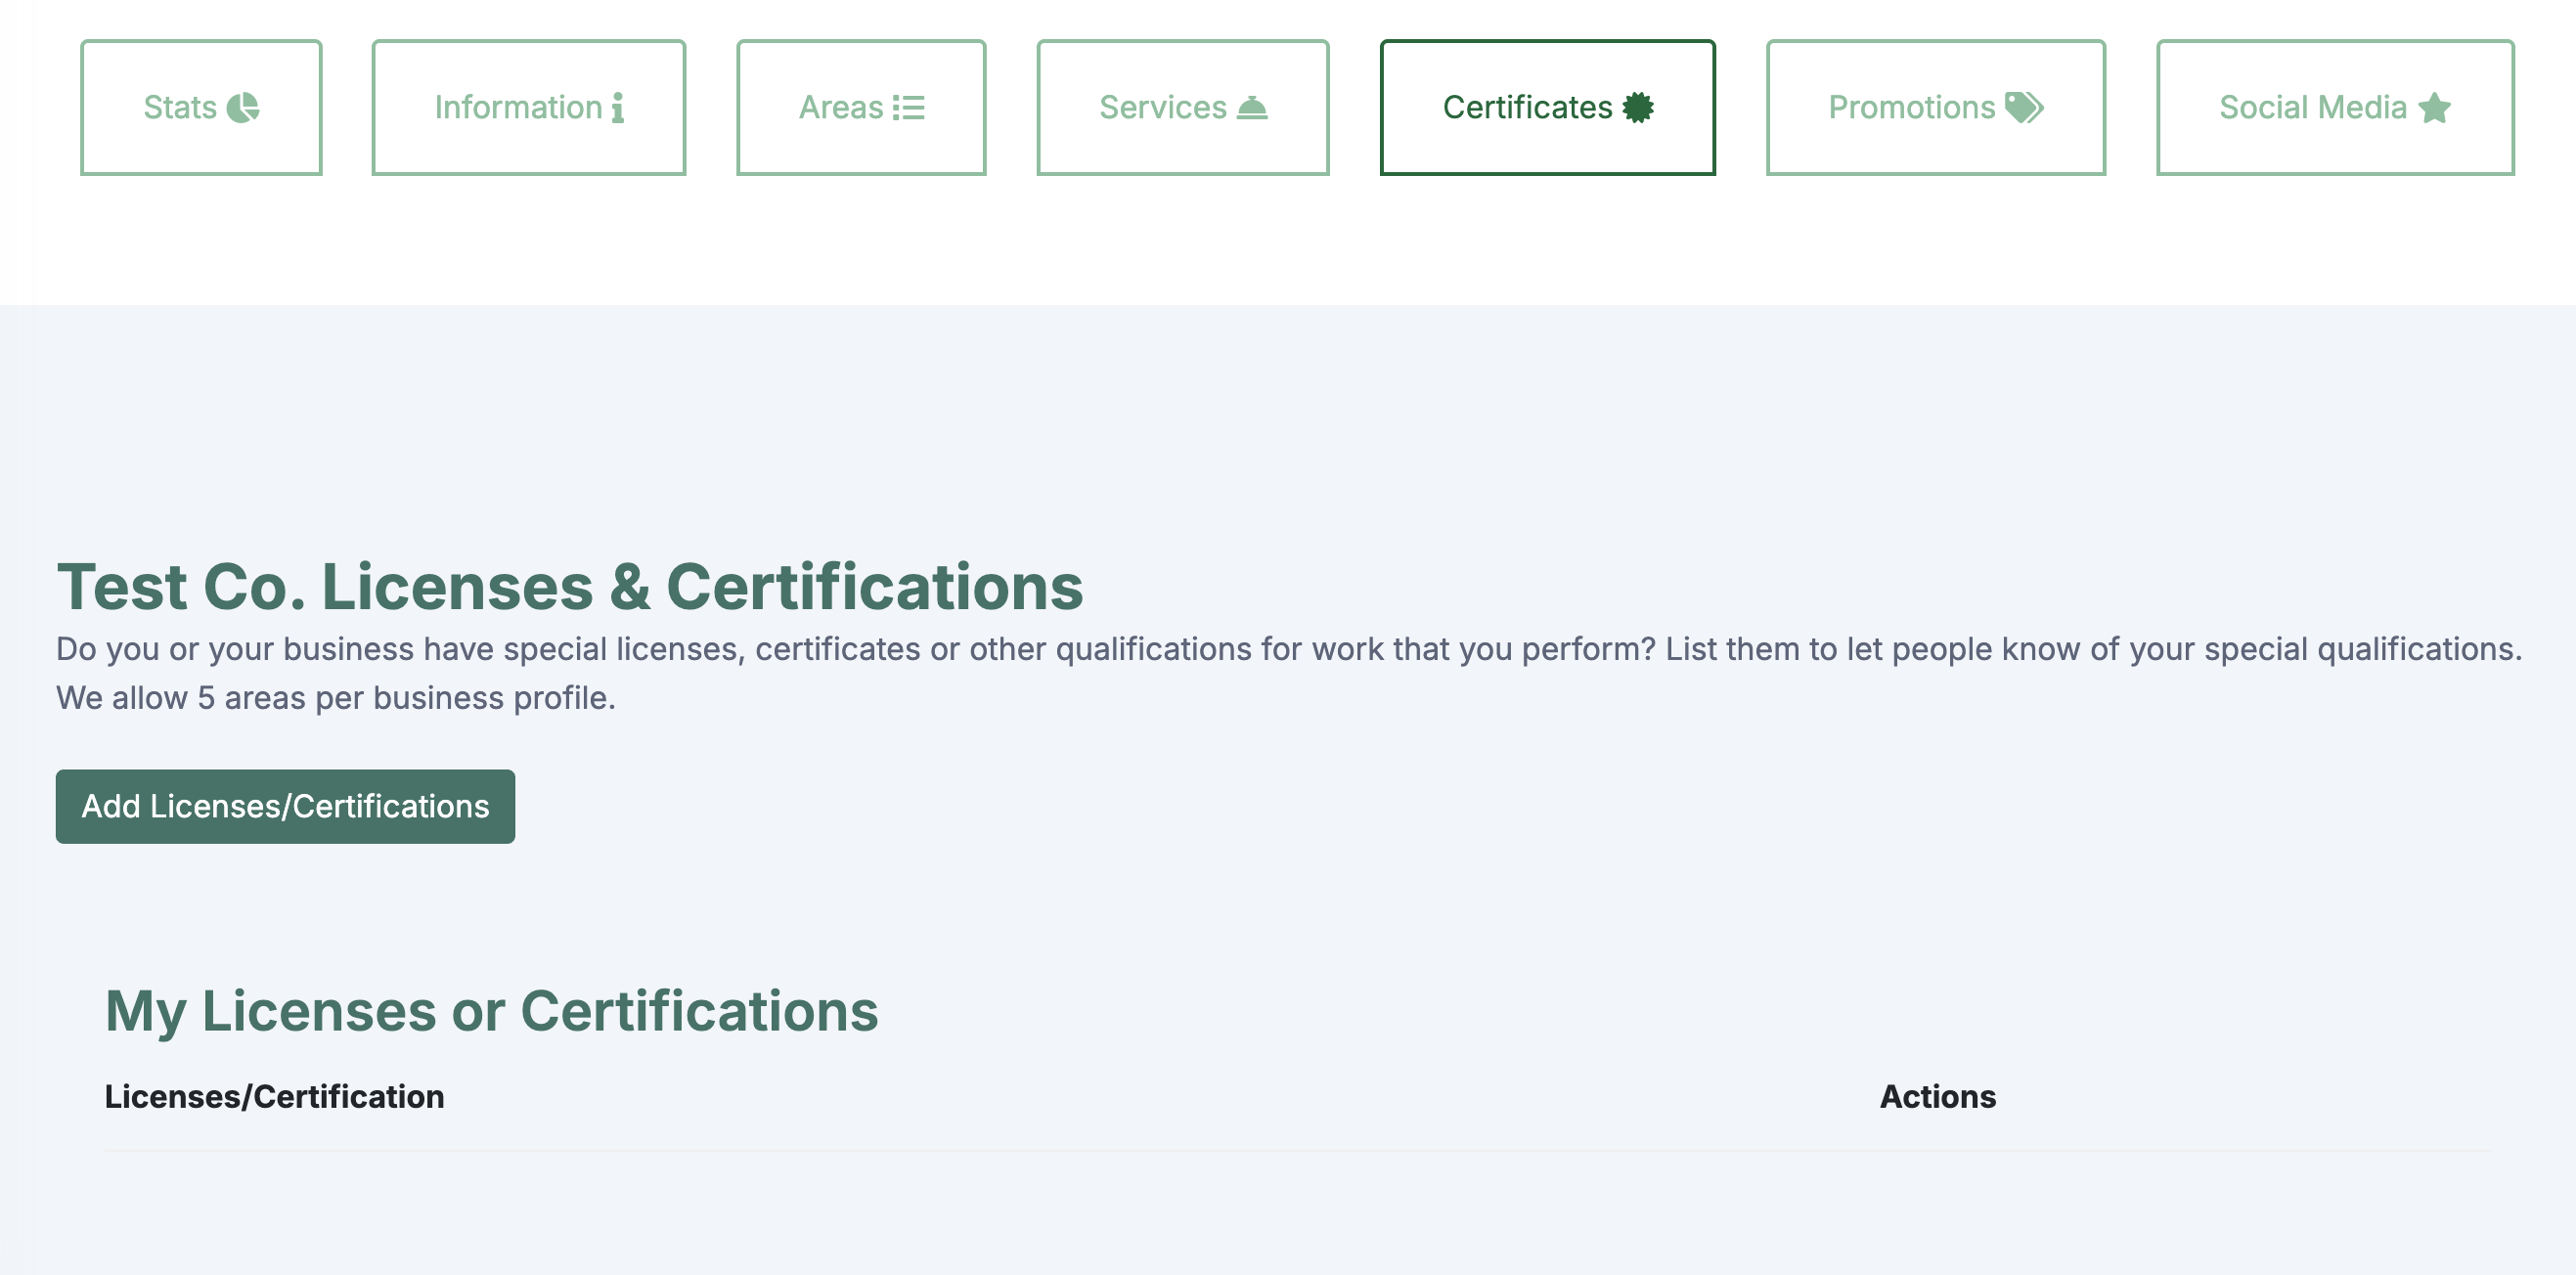
If you have a Pitch Pine account or higher, you can also add Deals and Social Media links by clicking on those tabs.
When you finish, go to the business list on the main Pine Tree site to make sure your business is listed.
If you have any issues listing your business, please reach out to [email protected]. We are happy to help!